In the painting operation, an efficient filtration system can not only improve the quality of the working environment, but also significantly improve the spraying effect. This article will introduce in detail how to build a professional-grade DIY spray paint room filter wall from scratch, covering the entire process of material selection, structural design, installation and debugging.
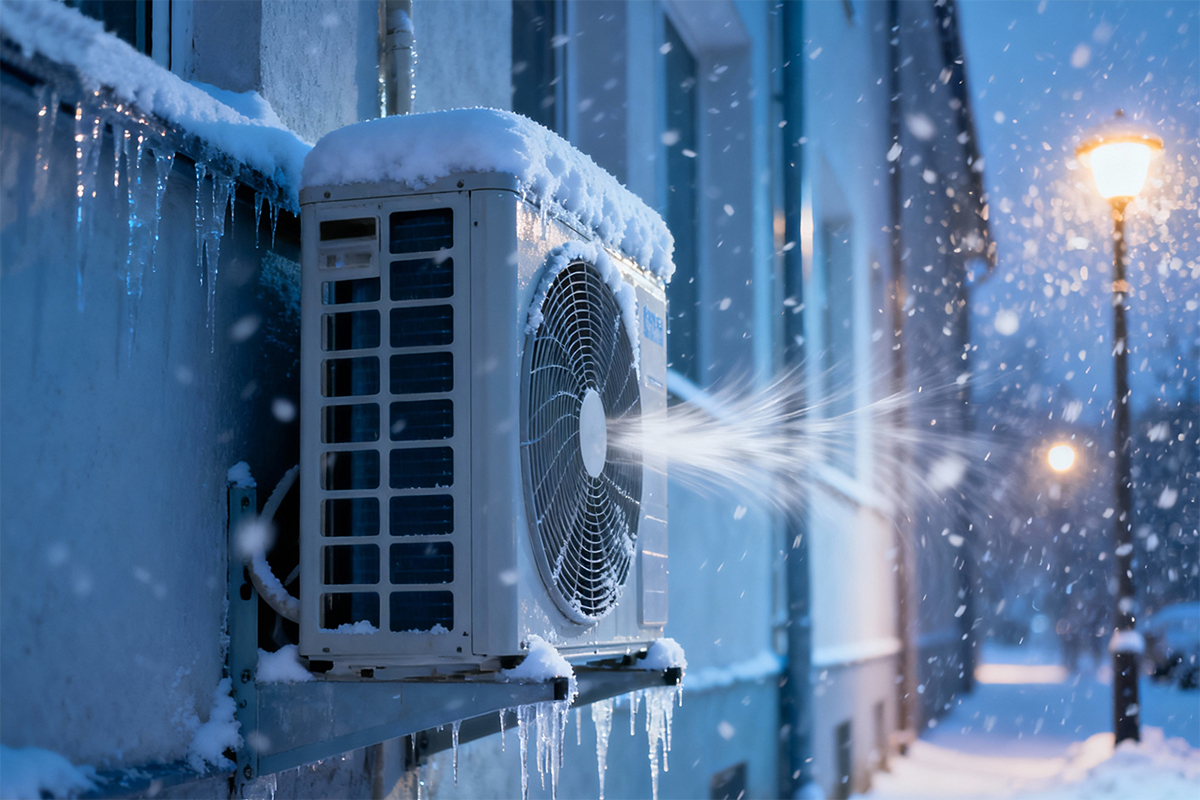
The paint mist and volatile organic compounds (VOCs) generated during the painting process will have a serious impact on the working environment and the health of operators. A well-designed filter wall system can:
-Effectively intercept more than 90% of suspended particles
-Reduce the concentration of inhalable pollutants in the working area
-Extend the service life of the spray paint room equipment
-Improve the smoothness of the spray surface
The working principle of the filter wall is based on a three-level filtration mechanism:
-Primary filtration: intercept large particle impurities (>10μm)
-Intermediate filtration: capture fine paint mist (1-10μm)
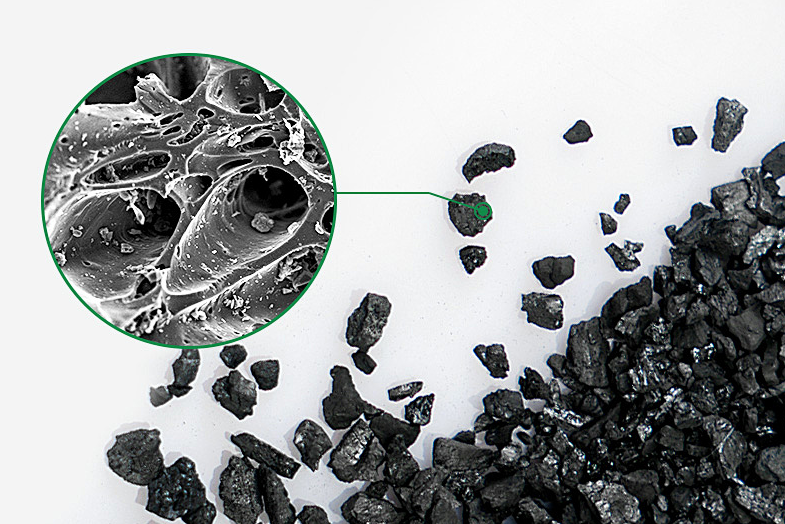
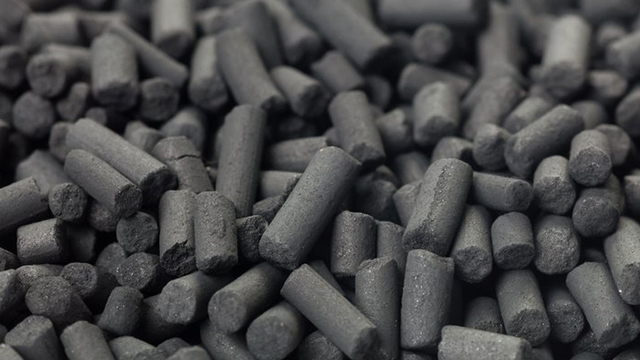
-Fine filtration: adsorb volatile organic compounds
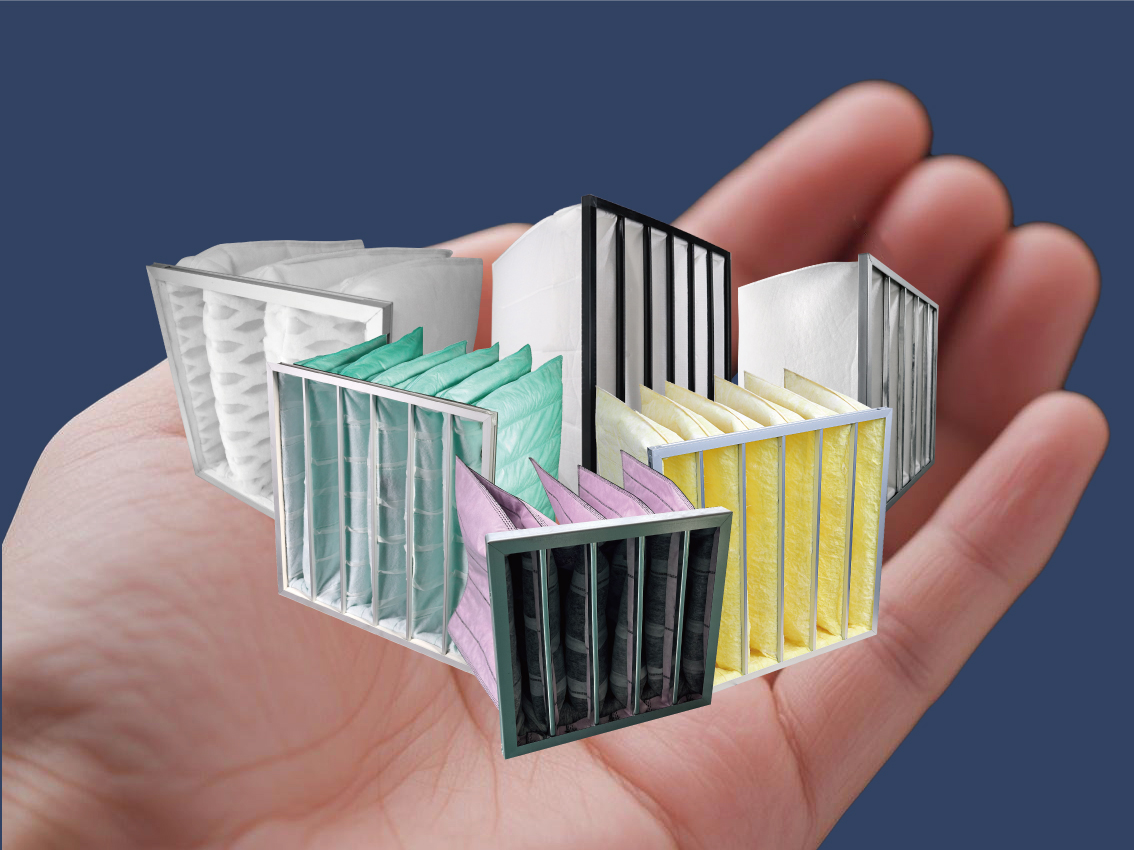
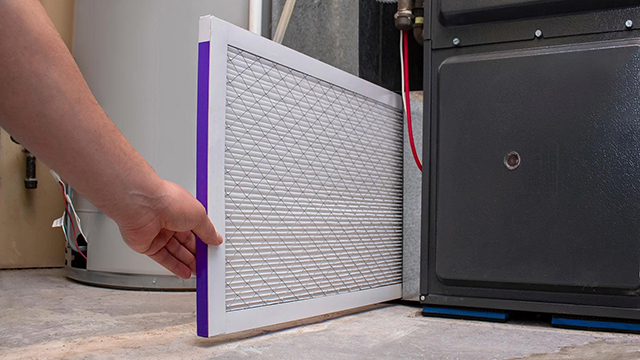
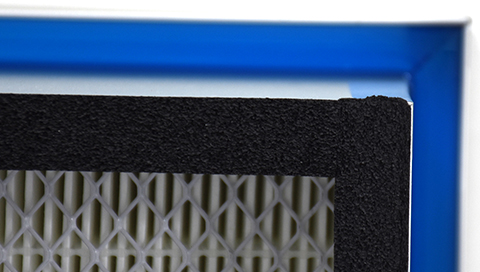
-Primary layer: 60 mesh wire mesh (cost about 50 yuan/㎡)
-Intermediate layer: MERV11 glass fiber filter cotton (recommended weight ≥200g/㎡)
-Fine layer: activated carbon filter pad (recommended thickness 20mm)
30×30mm aluminum alloy square tube is recommended
Alternative: rust-proof steel frame or anti-corrosion wooden frame
Connectors: stainless steel angle brackets and M6 anti-loosening screws
-Laser level (to ensure installation accuracy)
-Multi-function cutter (for metal/wood)
-Pneumatic nail gun (to fix filter media)
-Digital differential pressure gauge (to monitor filter efficiency)
-Cut the profiles according to the designed dimensions (it is recommended that the unit size be 1.2 × 0.6 meters)
-Use a combination of mortise and tenon joints and screws for double fixation.
-The inner frame is equipped with cross support beams (to enhance structural stability)
Determine the dimensions and finalize the design draft.
Install them in sequence from the intake side:
-Metal pre-filter screen (installed at a 15° angle)
-Glass fiber main filter layer (folded installation)
-Activated carbon final filter layer (flat plate installation)
-Install 3mm sealing pads between each layer
-Adopt a tapered flow channel design (the inlet cross-sectional area is 1.2 times that of the outlet)
-Install guide plates at the four corners of the frame (to reduce the generation of vortices)
-The filtering surface forms a 75° angle with the direction of the airflow (to enhance the collection efficiency)
Manometers will remind you of replacing the filters.
Purpose:
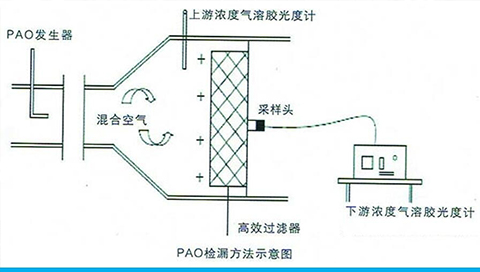
Measure the pressure differential before and after the filter wall (to monitor filter clogging).
Steps:
-Mount the manometer box near the exhaust window (as mentioned in your Arvind reference), ensuring it is level (adjustable at the base);
-Locate the filter wall using protruding screws from the interior to determine measurement points.
-Two pressure ports:
Low-pressure side (Low Pressure): Connect to the inlet side of the filter wall (unfiltered air).
High-pressure side (High Pressure): Connect to the outlet side of the filter wall (filtered air).
Specialized liquid: Red indicator fluid with a specific gravity of 1.0 (designed for 50-manometer use; a small amount is sufficient).
Procedure:
A. Open the filling port (Zero Set) and slowly fill until the liquid level is slightly above the zero mark.
B. Release the zeroing knob and allow the liquid to settle at the zero point (lock after leveling).
C. Initial state verification: The low-pressure side (red liquid) and high-pressure side should align (pressure differential = 0).
After starting the fan:
-The high-pressure side rises, causing the red liquid column to shift toward the low-pressure side, indicating filter resistance.
-Green arrow marker: Displays the current pressure range (e.g., liquid entering the green zone means the filter needs replacement).
Labels: When the fan runs, the red liquid moves left (low-pressure side rises), showing the filter's pressure drop.
Safety Notes:
Avoid overfilling the liquid, as it may affect readings. Regularly check for fluid evaporation and refill as needed.
-1.5 - 2 meters away from the spray painting workstation
-The distance from the bottom to the ground is ≥ 30 cm (for easy maintenance)
-Use a laser level instrument to ensure that the verticality error is ≤ 3mm/m.
-Positive pressure test method: Apply internal pressure to 500 Pa, and the leakage rate should be less than 5%.
-Smoke testing: Use a smoke generator to test the edge seal.
-Wind speed test: The wind speed on the filtering surface is controlled within 0.4 - 0.6 m/s.
-Pressure difference monitoring: The initial pressure difference of the new filter material should be less than 50 Pa.
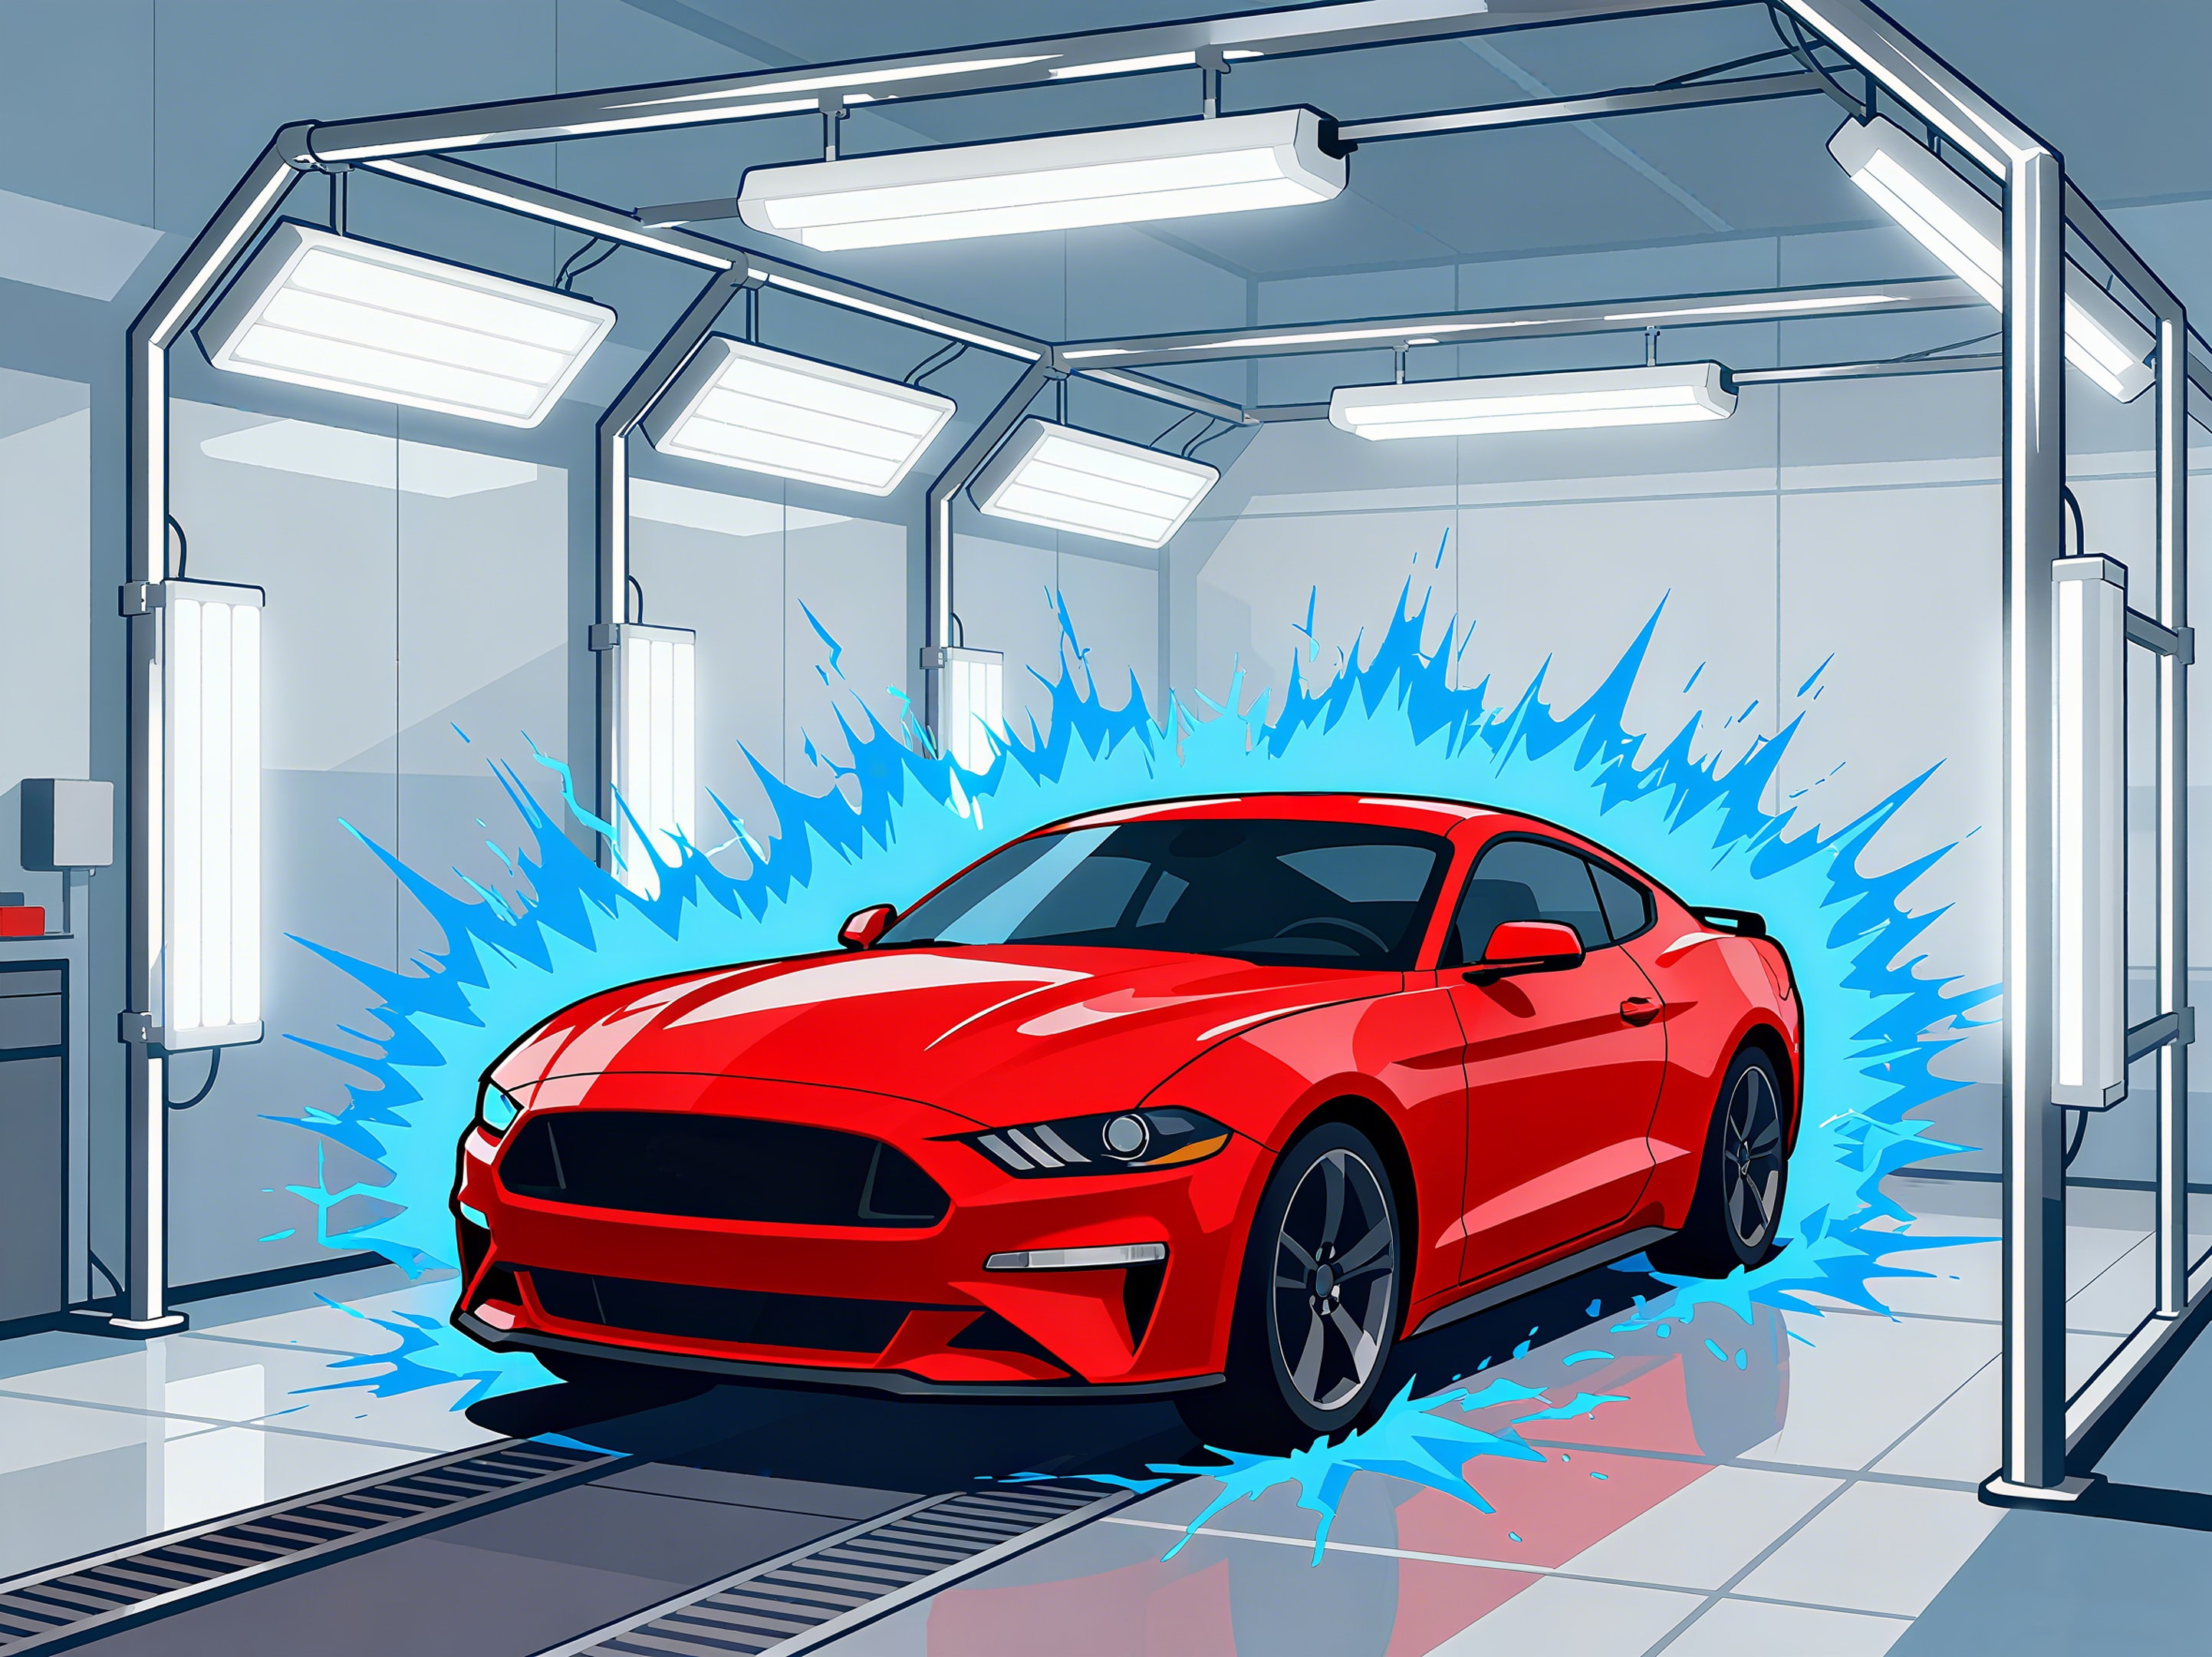
-Spraying test: Using a white test plate to check for over-spraying situation
-Pre-filter screen: Cleaned weekly (by reverse blowing with compressed air)
-Primary filter layer: Replace monthly (when pressure difference > 150 Pa)
-Activated carbon layer: Replace every quarter (or based on odor detection)
-Filter material collapse: Check if the wind speed exceeds the limit.
-Sealing failure: Replace the EPDM sealing strip
-Pressure difference anomaly: Check if the filter material is misaligned.
Install differential pressure alarm device (set value 120 Pa)
Configure backup filtration unit (with rapid switching design)
Introduce a humidity control system (keeping the relative humidity at 40-60%)
-All metal components must be reliably grounded.
-The lighting equipment must be of explosion-proof type.
-Install an electric leakage protector at the power socket.
-The filtering material must pass the UL900 certification.
-Equipped with an automatic fire extinguishing system (recommended dry powder type)
-Welding operations are strictly prohibited within a 3-meter radius.
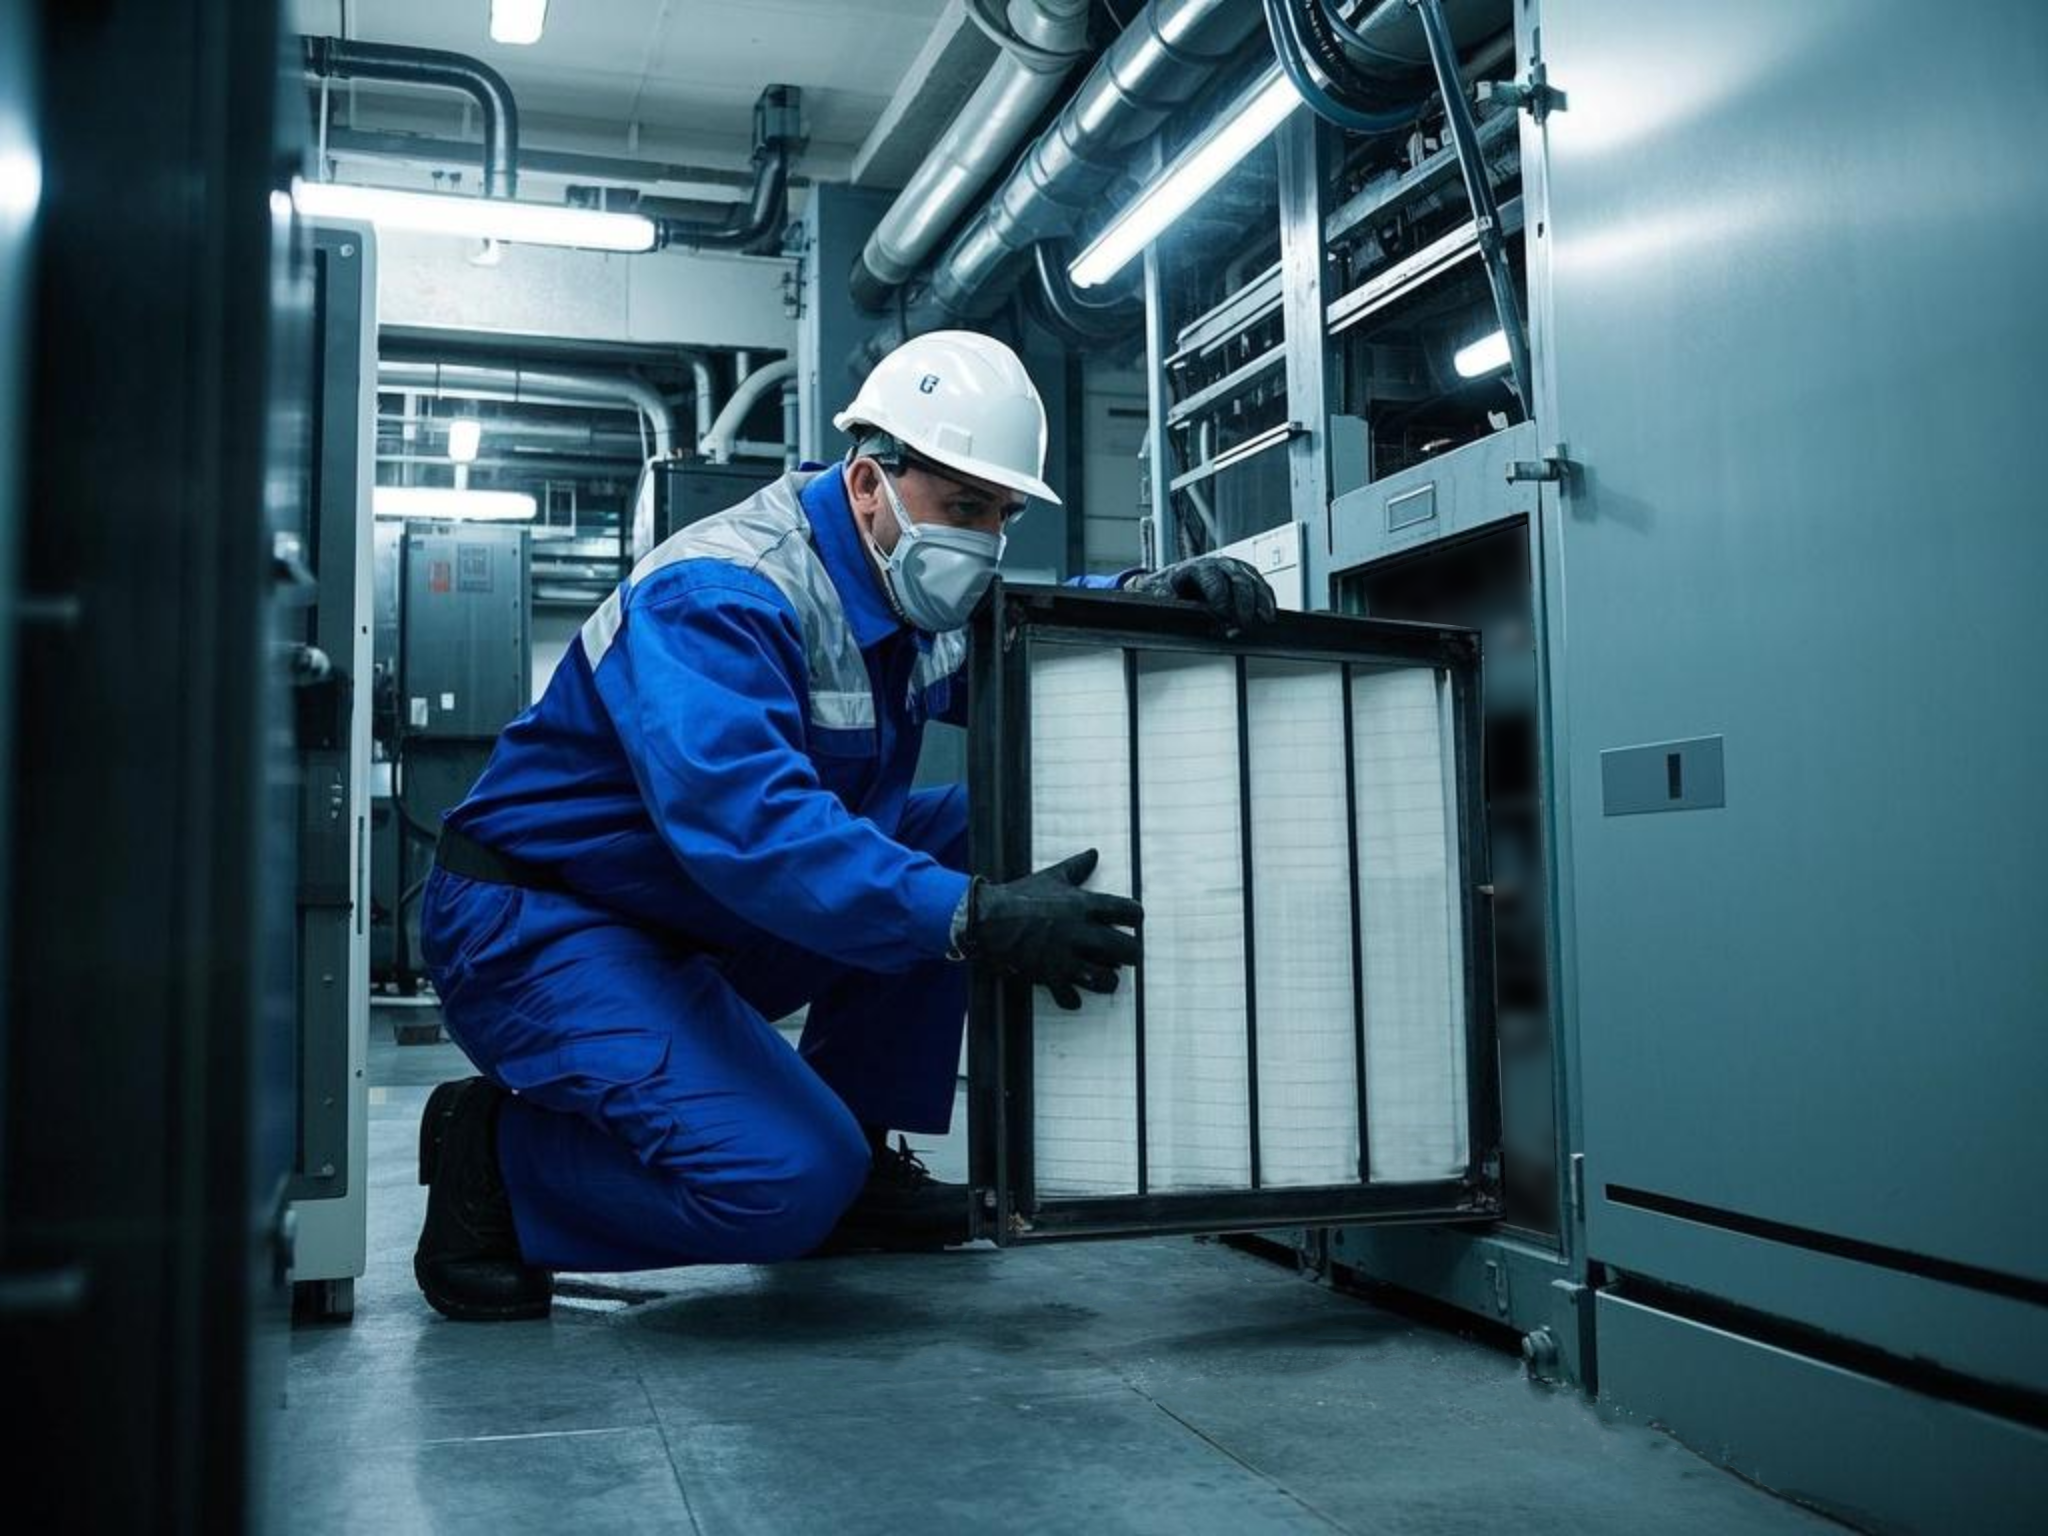
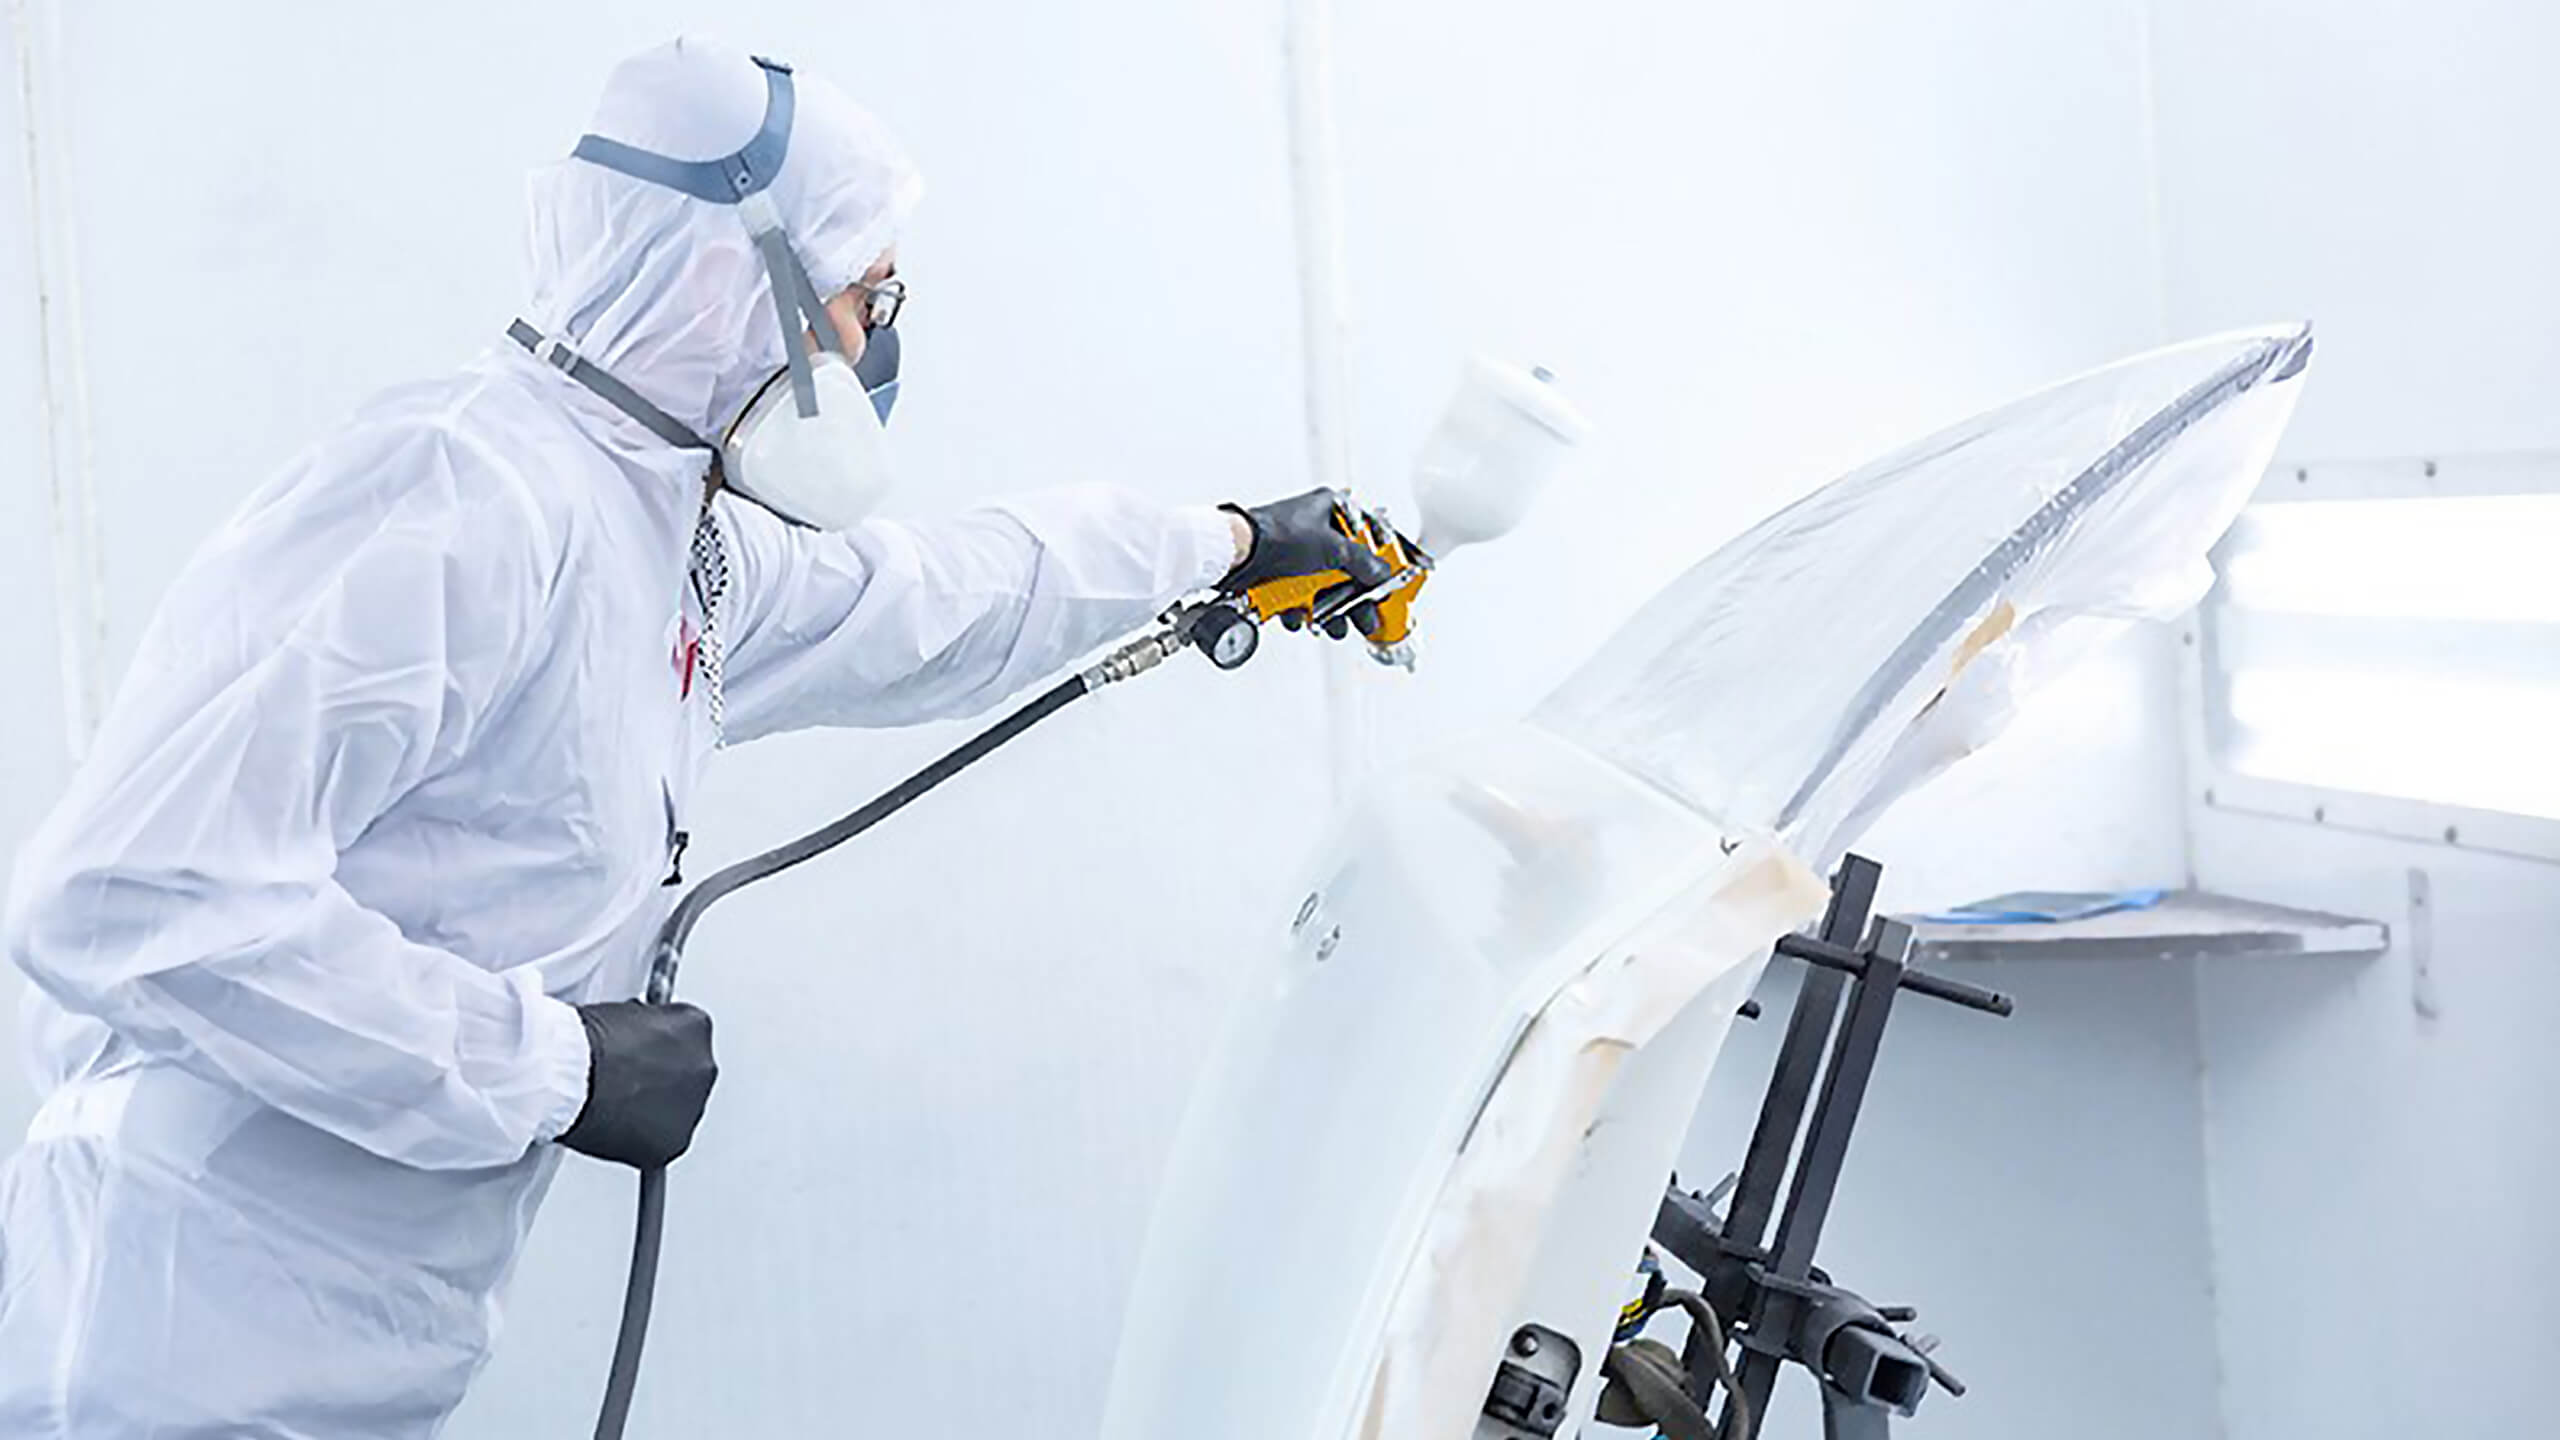
-During operation, a P100 level protective mask must be worn.
-Set up real-time monitoring of CO/VOC concentrations
-Force ventilation for 15 minutes every 2 hours.
-The material cost is approximately 800 to 1200 yuan.
-Service life: 3 to 5 years
-Suitable for amateurs
-Configure automatic roller-type filter material
-Automatic alarm for pressure difference
-Recycling system: Install a circulating device for collecting paint droplets
-Intelligent Control: Connecting to the Internet of Things Monitoring Platform
-Modular design: Facilitates later expansion
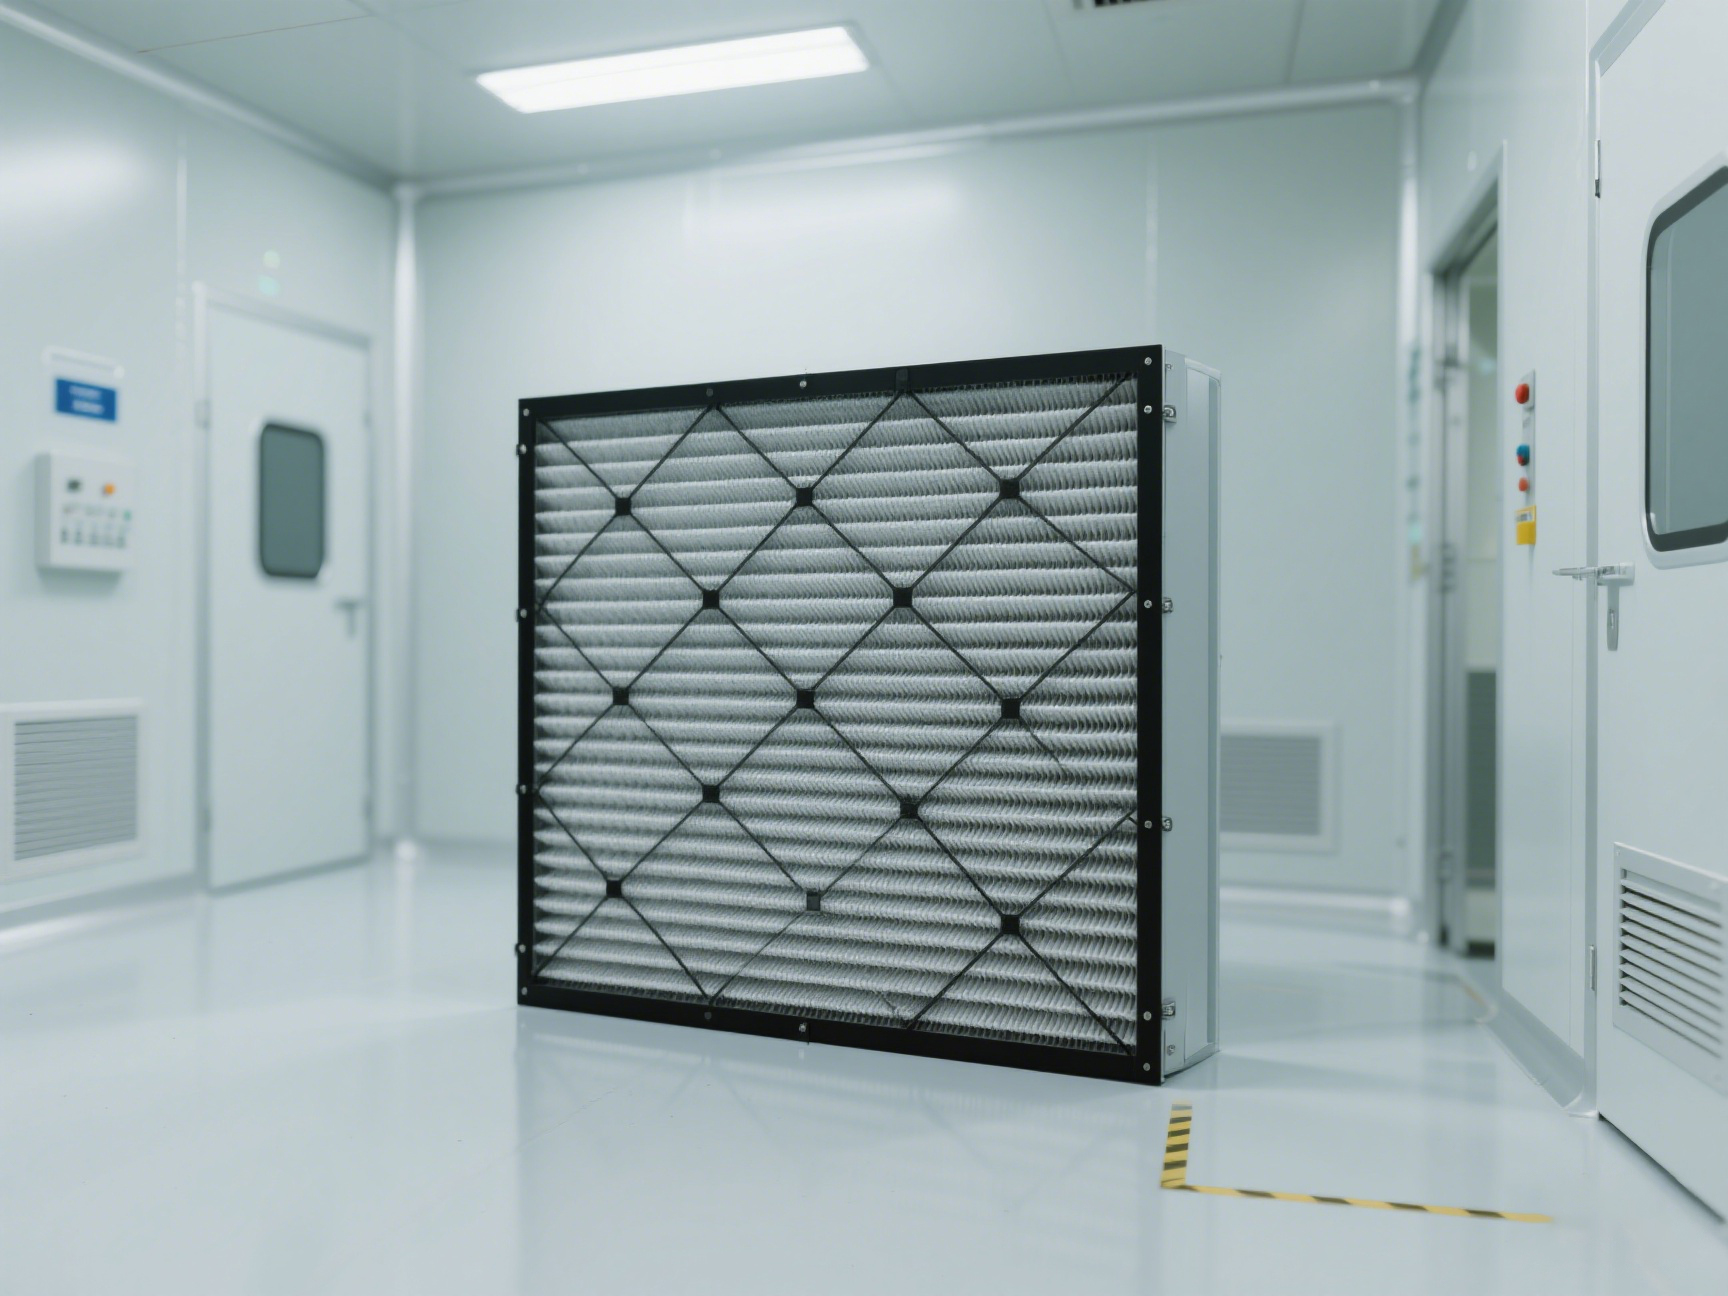
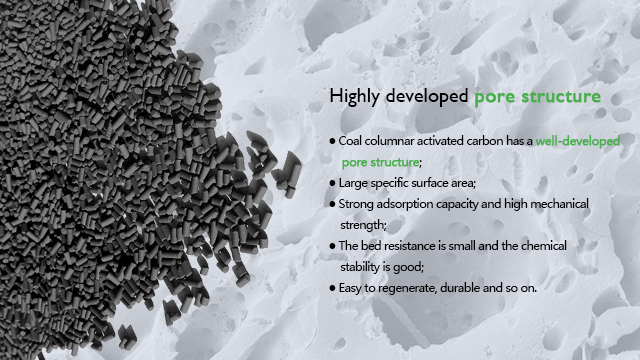
The most important safety facility in a paint booth is the filtration system. Its main function is to filter out the paint particles and other pollutants mixed in the air of the paint booth, so that the exhaust gas will not pollute the atmosphere. The most commonly used filtering material in paint booths is glass fiber cotton. We have a 20,000 square meter factory in Sichuan, supported by the National Glass Fiber Research Institute. It has 15 production lines to support us in producing 450,000 square meters of output value per month for our customers, and we can achieve a delivery time of 7 to 13 days.
Our factory is supported by the National Fiberglass Research Institute. Therefore, the glass fiber felt produced here is far ahead in the domestic market and has also gained wide recognition in the international market. The advantages of our products are as follows:
Glass fiber material structure of RT’s Paintstop with progressive structure, fluffy structure on the air inlet (green), out of wind surface (white) gradualy encrypted, better filtering and containing paint fog.
It’s very important for a firm skin layer of RT’s Paintstop on the back side. The Paintstop on the front side has almost no skin layer.
The fiber filaments of RT’s Paintstop are smaller and arranged evenly and orderly, and the Paintstop may not come off too easily with a good bonding. The loose fibres will affect the quality of the car in the spray booths.
A fluffy structure of RT’s Paintstop with good elasticity can maintain no deformation even under pressure compress transportaion, saving space.
Welcome to contact us if you are interested in our paint booth filters, we offer sample service.